The Printed PageS2C Home « The Printed Page
Its normal practice for users to want to print content from your site, but what might look great on screen may look terrible on paper. Also using half an ink cartridge may deter users from printing information from your site again. In this lesson we learn how to use the 'print' media type along with page breaks to control print flow.
Print CSS Properties
orphans
Specifies the minimum number of lines to display at the bottom of a page, when a page break occurs inside a block-level element.
page-break-after
Specifies page break behaviour to occur after this block-level element.
page-break-before
Specifies page break behaviour to occur before this block-level element.
page-break-inside
Specifies whether a page break should occur within a block-level elements generated box.
widows
Specifies the minimum number of lines to display at the top of the next page, when a page break occurs inside a block-level element.
What Are Media Types?
A media type is the method by which your web page is viewed and can be entered as part of a style or stylesheet. So far in these tutorials we haven't specified a media type and so the default of all has been used.
In CSS there are ten media types available for use although most lack the available hardware support at present. The media types available are all, braille, embossed, handheld, print, projection, screen, speech, tty and tv.
The focus of this lesson will be on the print media type and we will use an existing stylesheet, which we will override for our printing.
Open up the file with Notepad we created and tested in Lesson 6: Layout.
You saved the file to your computer in the C:\_CSSAdvanced folder as lesson_6_csspage.html
Copy and paste the following code into the reopened file, overwriting the existing text.
<!DOCTYPE html>
<!-- Our HTML/CSS for Printing follows -->
<html  lang="en">
<head>
<title>Advanced CSS - Lesson 7 - The Printed Page</title>
<link href="https://server2client.com/css/css_lesson_7_main.css"
      rel="stylesheet" type="text/css">

<style type="text/css" media="print">
/* Break our page here */
.break_after {
  page-break-after: always !important;
}
/* Set a style for our page headers */
.printhead {
  font: 2.5em "Comic Sans", Georgia, "Times New Roman", Times, serif;
  font-style: italic;
  display: block;
  height: auto;
  text-align: center;
  border-bottom: 2pt solid #000;
  padding: 10pt 0;
  margin: 0;
  margin-bottom: 20pt;
}
/* Set a style for our page breaks */
.printfoot, .printfootend {
  font: 2.5em "Comic Sans", Georgia, "Times New Roman", Times, serif;
  display: block;
  margin-top: 25pt;
  text-align: left;
}
</style>
</head>

<body>
<div class="printhead">  CSS Tutorials</div>
<h1>Looking at the printed page</h1>
<p>Set all borders then change right hand border only.
<img id="img1" src="https://server2client.com/images/beefalepiesmall.jpg"
    alt="Beef and Ale Pie">
</p>
<p>3 properties set for border in width.
<img id="img2" src="https://server2client.com/images/beefalepiesmall.jpg"
    alt="Beef and Ale Pie">
</p>
<div class="printfoot">Copyright 2013, server2client.com<br class="break_after"></div>
<div class="printhead">  CSS Tutorials</div>
<p>2 properties set for border colour and style.
<img id="img3" src="https://server2client.com/images/beefalepiesmall.jpg"
    alt="Beef and Ale Pie">
</p>
<p>Set individual properties.
<img id="img4" src="https://server2client.com/images/beefalepiesmall.jpg"
    alt="Beef and Ale Pie">
</p>
<div class="printfootend">Copyright 2013, server2client.com</div>
</body>
</html>
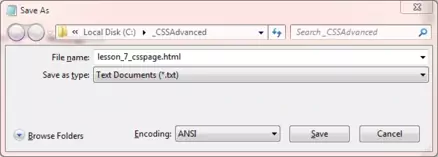
Save the file in the C:\_CSSAdvanced folder as lesson_7_csspage.html and close the Notepad.

Viewing Our Saved File
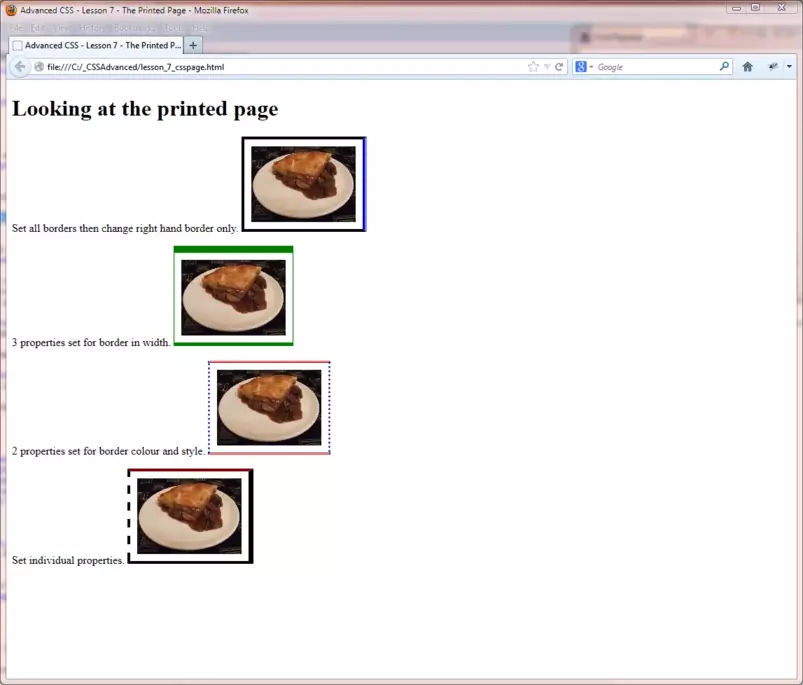
From the C:\_CSSAdvanced folder, double click on the saved file and it will appear in your default web browser and look something like the following image.

Viewing Our Print File
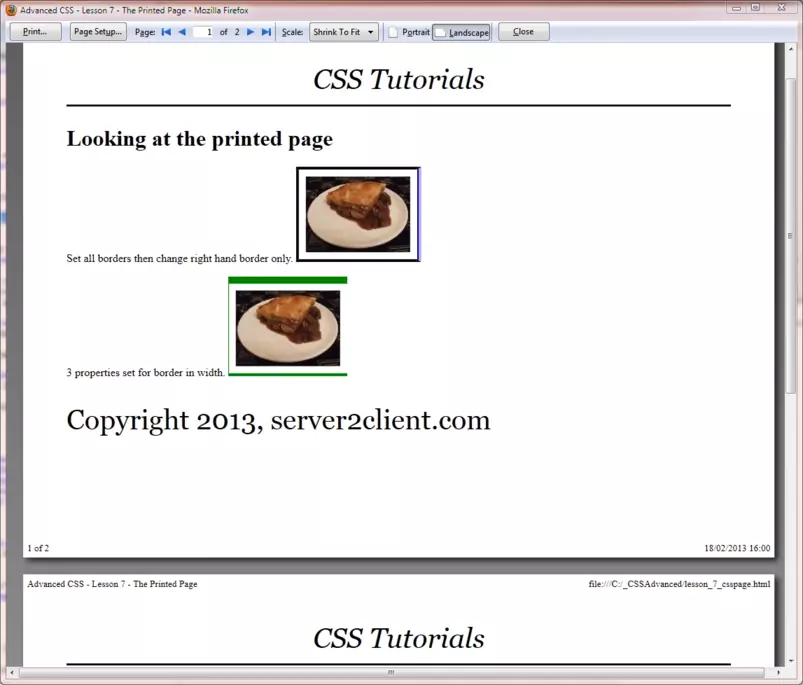
In your browser click on the print option at the top and select print preview, we are showing the print preview in landscape so you can see the page continuation.

Reviewing The Code
In the external stylesheet we have set classes .printhead, .printfoot and .printfootend to display: none; so these styles don't appear on the screen.
We have created an internal style sheet for our printed page. Notice we have set media=print within the style header, generally we would use an external stylesheet for this.
We then set a style for class .break_after which will force a page break each time this class is used. We set this only once to simplify our example but you can see the mechanics.
We then set some printable styles within our internal print stylesheet for printing our headers and footers.
Lesson 7 Complete
Try changing the print CSS so we have a page break after each paragraph ends. Also dabble with the CSS and try using the page-break-before CSS property.
Related Tutorials
HTML Intermediate Tutorials - Lesson 2 - HTML Structure - Layout
HTML/CSS Case Study - Lesson 2 - Page layout
What's Next?
We take a look at the handful of CSS properties not yet covered in the CSS tutorials.
CSS Reference
Print CSS Properties
The orphans CSS Property
The page-break-after CSS Property
The page-break-before CSS Property
The page-break-inside CSS Property
The widows CSS Property