Wrap Up - javadoc DocumentationS2C Home « Wrap Up - javadoc Documentation
In our penultimate lesson of the case study we create documentation for the case study by running the javadoc tool on the packages we have coded. This will extract the HTML style comments we
have written in the source files and produce a top level folder and subfolders for the packages. We then wrap all our files up neatly in a JAR file so we can easily distribute them and
to also show usage of the -jar command.
The javadoc Tool Top
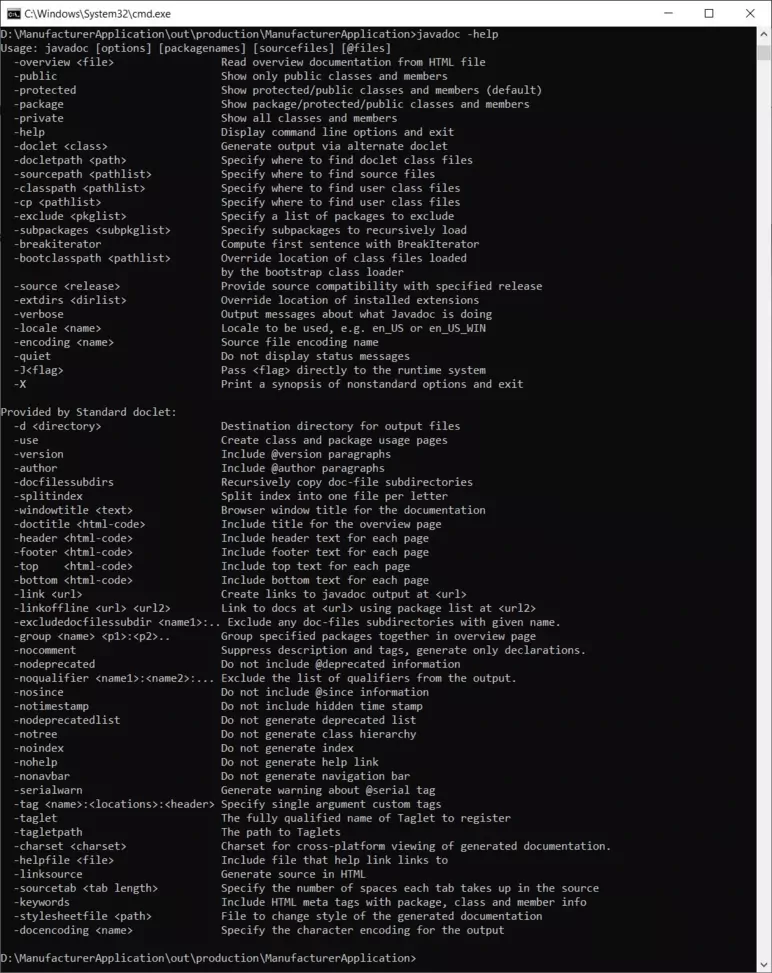
The javadoc tool comes with a lot of options as you can see from the following screenshot. You can explore the various options at your leisure but we will just be using the -d
option to create our documentation.

Running javadoc Top
As our code is separated into different packages we can create javadocs at the package level.
Change to directory cd c:\_Case_Study\src
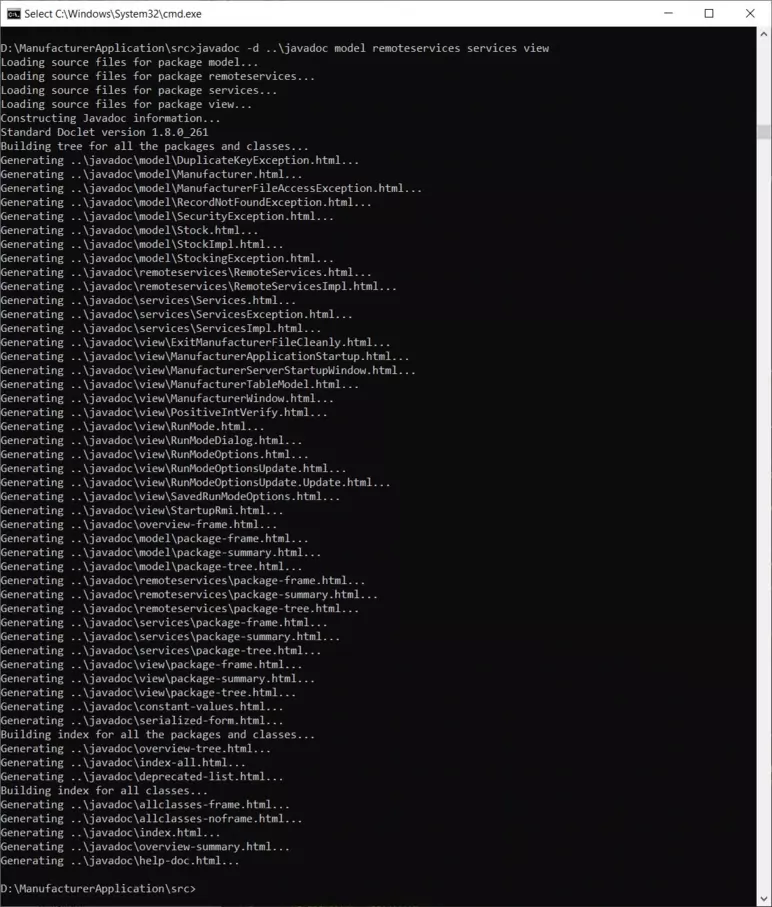
Run the javadoc tool using the -d option javadoc -d ..\javadoc client model remoteservices services
The following screenshot shows the results of running the javadoc tool on our source packages and the files and directories created.

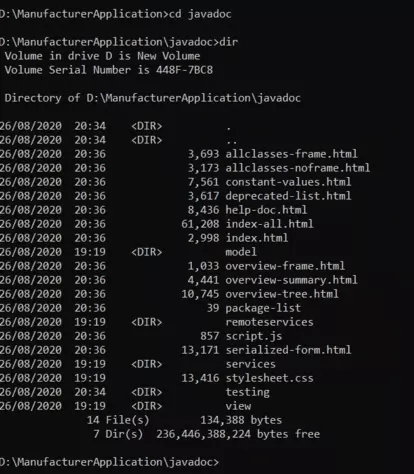
This screenshot shows the files and directories created in the javadoc folder.

Exploring Our API DocumentationTop
Change to directory cd c:\_Case_Study\sysdoc
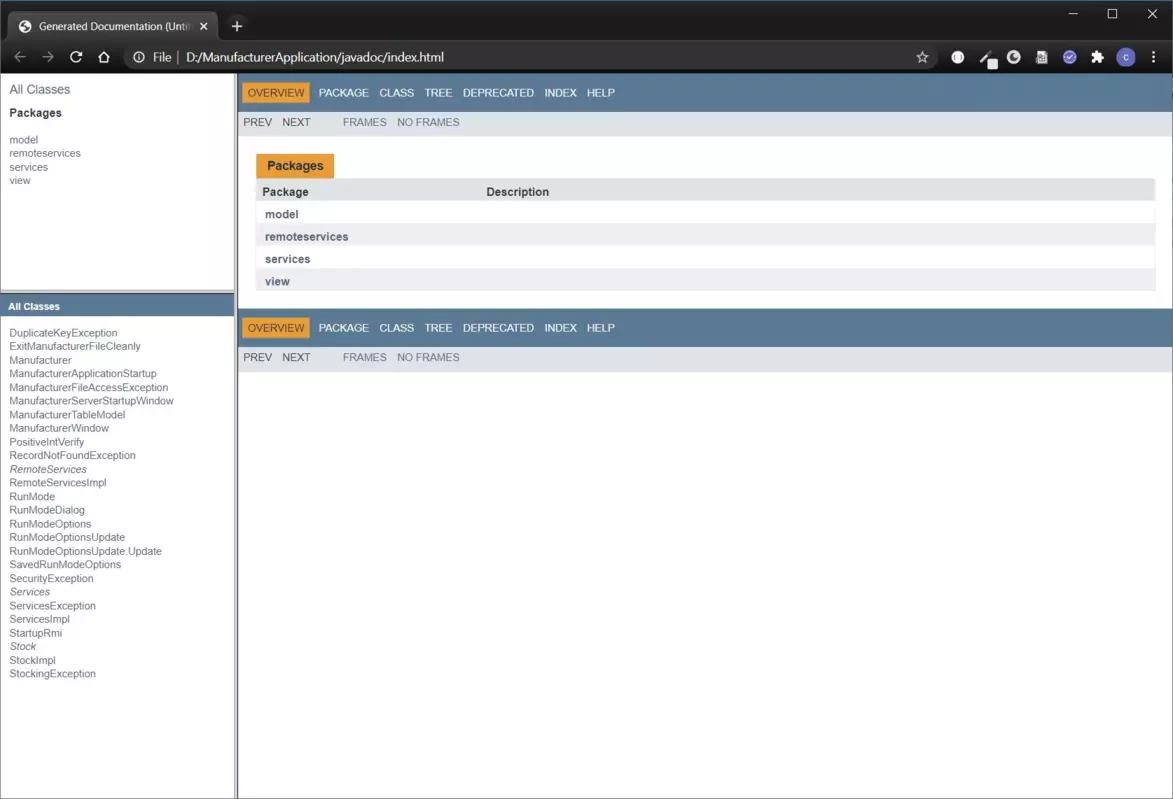
The following screenshot shows us typing index.html from the command prompt and the resultant HTML displayed in Firefox on my Windows 7 machine. The
documentation produced should be familiar in style as it matches that produced for the offical API documentation. Although using javadoc has an initial effort by the end of the project
we have a documented API for others to use in the future. Well worth the initial effort and a good practice to get into.

What's Next?
We wrap up the Java case study and our code!