More Text TagsS2C Home « HTML Advanced - More Text Tags
In HTML5 Basic Tutorials - Lesson 8 - Images we showed how to bring our webpages to life using images.
In this lesson we add flexibility to our images using the <figcaption>, <figure>, <picture> and <source> tags.
The Figure Caption Element
The <figcaption> tag and its' closing </figcaption> tag are used to provide a caption when using the <figure> tag.
The Figure Element
The <figure> tag and its' closing </figure> tag specifies self-contained content such as images, diagrams, photos etc.
The Picture Element
The <picture> tag and its' closing </picture> tag are used when rendering image resources to give more flexibility and options.
The Source Element
The <source> tag is a self closing used for specifying multiple media resources on media elements <audio>, <picture> and <video>.
Creating A Webpage
Lets create a webpage for our image flexibility tags to see what they do!
-
HTML Editor
- Open up your HTML editor or text editor, which in my case is Notepad++.
- Open a document if required.
- Copy and paste the following code into the document.
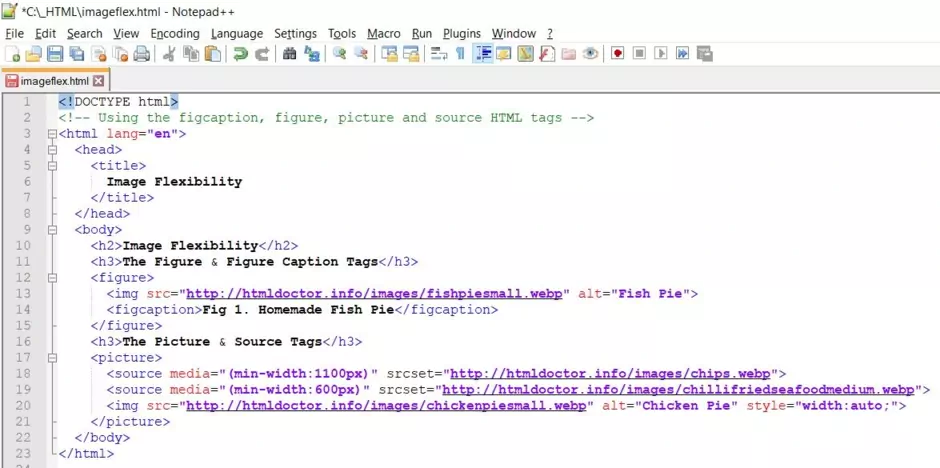
<!DOCTYPE html> <!-- Using the figcaption, figure, picture and source HTML tags --> <html lang="en"> <head> <title> Image Flexibility </title> <meta charset="utf-8"> </head> <body> <h2>Image Flexibility</h2> <h3>The Figure & Figure Caption Tags</h3> <figure> <img src="http://htmldoctor.info/images/fishpiesmall.webp" alt="Fish Pie"> <figcaption>Fig 1. Homemade Fish Pie</figcaption> </figure> <h3>The Picture & Source Tags</h3> <picture> <source media="(min-width:1100px)" srcset="http://htmldoctor.info/images/chips.webp"> <source media="(min-width:600px)" srcset="http://htmldoctor.info/images/chillifriedseafoodmedium.webp"> <img src="http://htmldoctor.info/images/chickenpiesmall.webp" alt="Chicken Pie" style="width:auto;"> </picture> </body> </html> -
Saving the document
Save the file as
imageflex.html
Screenshot 1. Saving the imageflex.htmlHTML file. -
View Page in Web Browser
Either navigate to the location you saved the
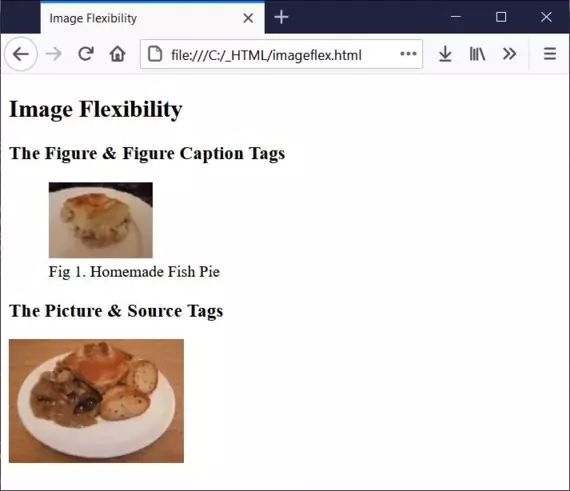
imageflex.htmlfile to and double click the file. This will take you to the page in your default web browser, or from your web browser click File --> Open File and navigate to the file and open it.After doing either of these you should see a similar webpage in your browser to the following screenshot:

Screenshot 2. Viewing the imageflex.htmlHTML file.The screenshot shows two images and the tags used for each.
The <figcaption> tag must be the first or last child within the parent <figure> tag.
The <picture> element must contain one <img> element which must be the last child. This ensures that there is a falback image if none of the conditions of any <source> elements are met.
A <source> element that has a following sibling <source> element or <img> element with a srcset attribute must hava a media attribute and/or type attribute.
The <source> tags srcset attribute is required when the <source> tag is used within the <picture> element.
The <source> tags media attribute value must be a valid media query, as would normally be applied in a CSS stylesheet.
Lesson 7 Complete
Modify the HTML to change where the figure caption appears and change the source settings to see how this affects the images changing on screen resizing.
Related Tutorials/Quizzes
HTML5 Basic Tutorials - Lesson 8 - Images
What's Next?
We finish off our discussions about links.
HTML5 Reference
The <figcaption> figure caption tag
The <figure> figure tag
The <picture> picture tag
The <source> source tag